A Storage Unit
-
 Chris J
 - 01 Jan, 2025
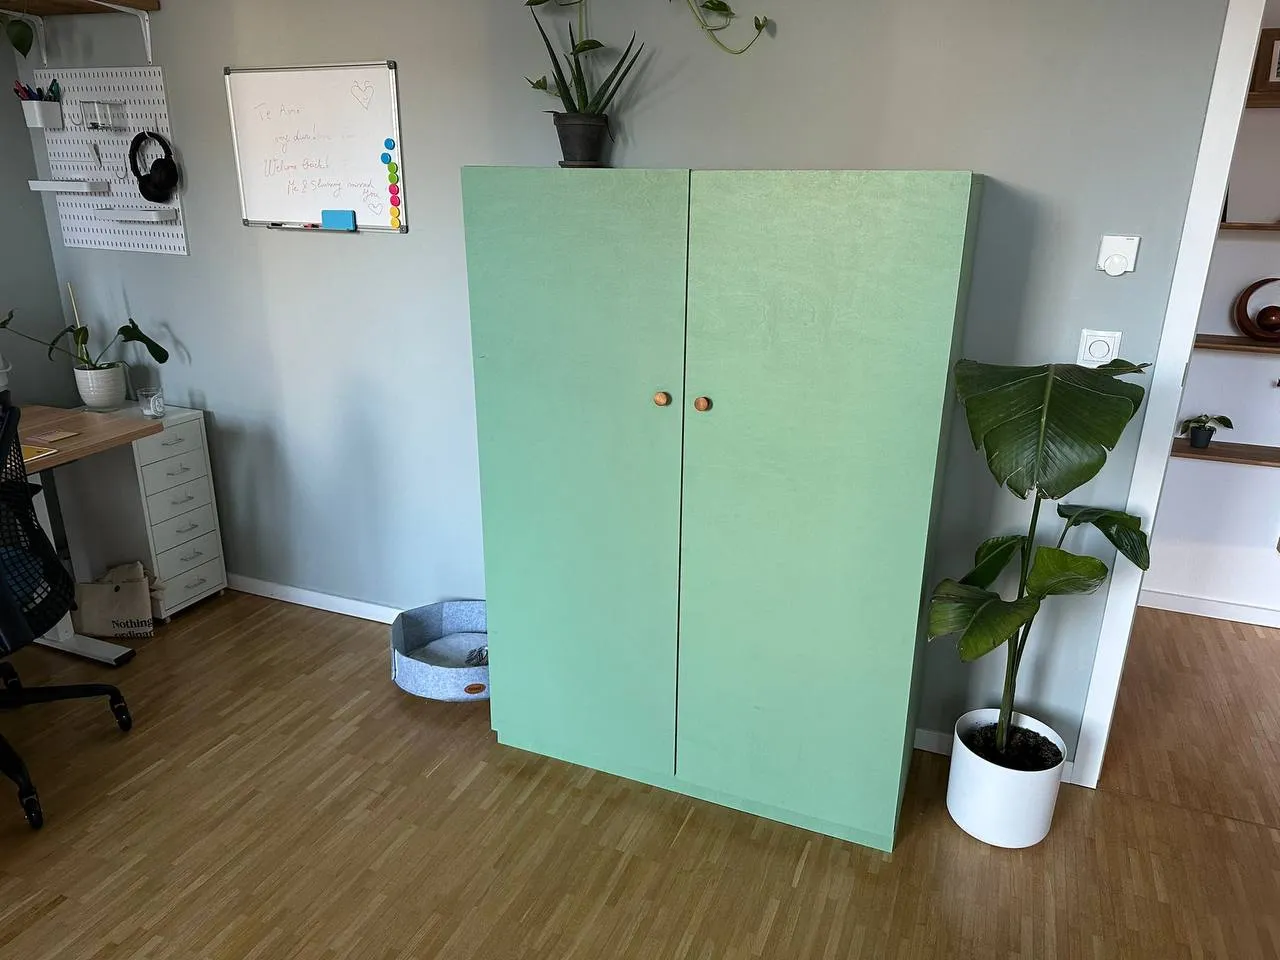
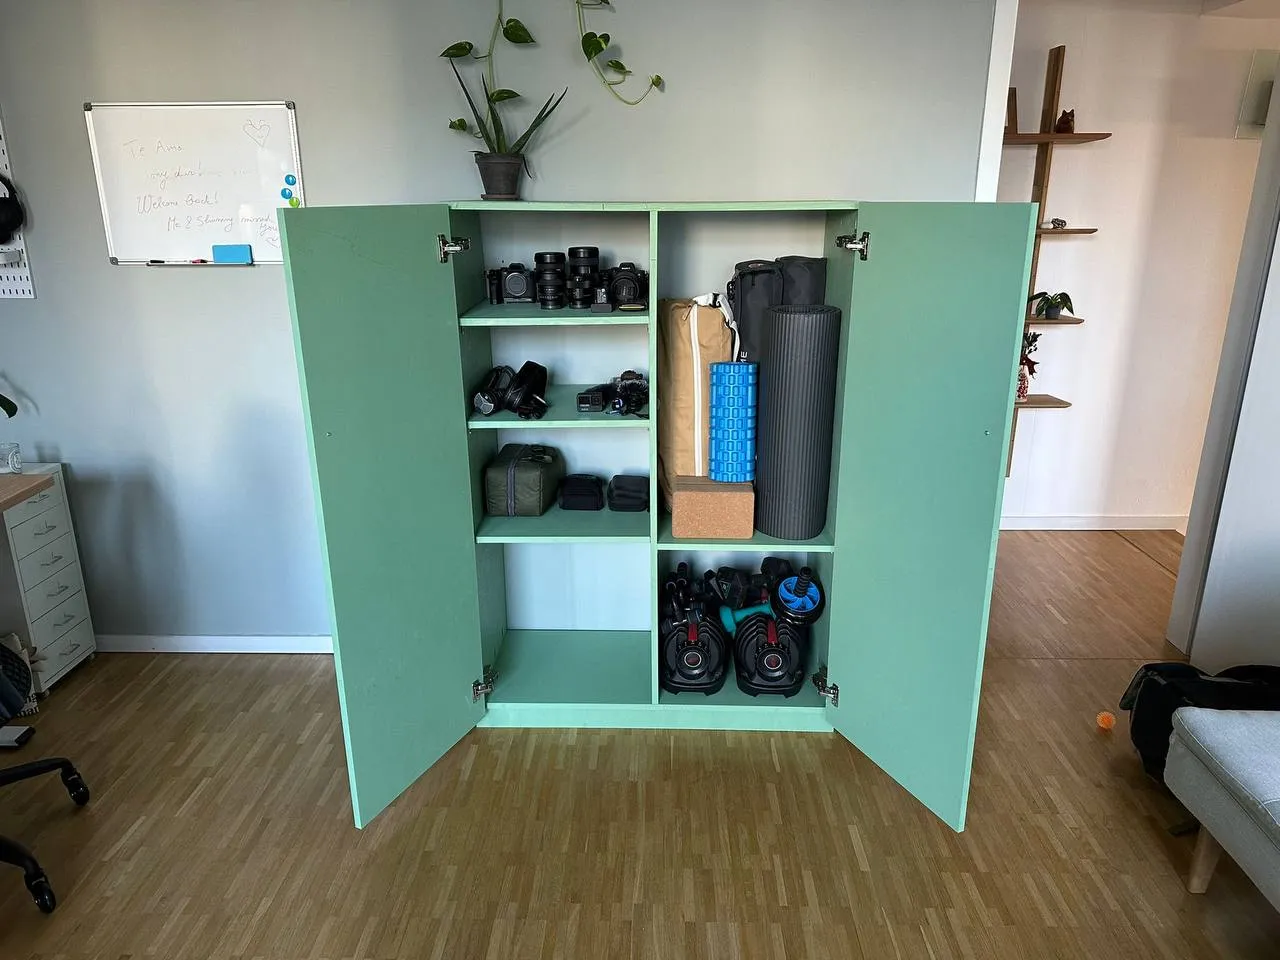
As this was my first DIY project in Germany, I encountered a new set of challenges. The goal was simple - create a storage unit to house our cluttered spaces with sensitive equipment like workout gear, tools, and camera equipment. But the reality turned out to be anything but straightforward.
I had to get resourceful - figuring out delivery logistics, sourcing the right materials, and making do with what was available. This experience taught some good lessons about DIY design in a foreign country.
The Process
The process of creating this kitchen island involved several steps:
- Design: I created detailed plans using Fusion 360, considering both functionality and aesthetics while taking into account the costs of materials, particularly plywood in Germany as that can quickly add up.
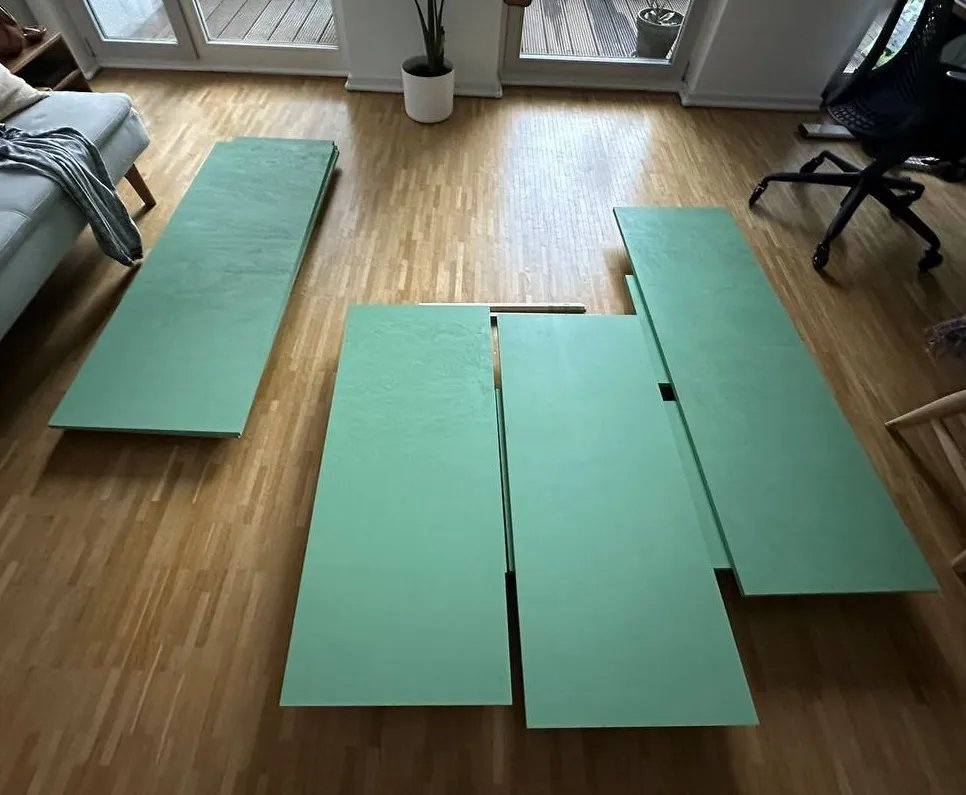
- Construction: The main structure was pre-cut at the wood supplier based on my design specifications. I then assembled it using mostly pocket holes and a few countersunk screws.
- Finishing: As plywood is not the nicest thing to look at, we chose to paint the unit. This brought out some of the natural texture of the plywood through its colour, while also harmonizing with the existing colours in our room.
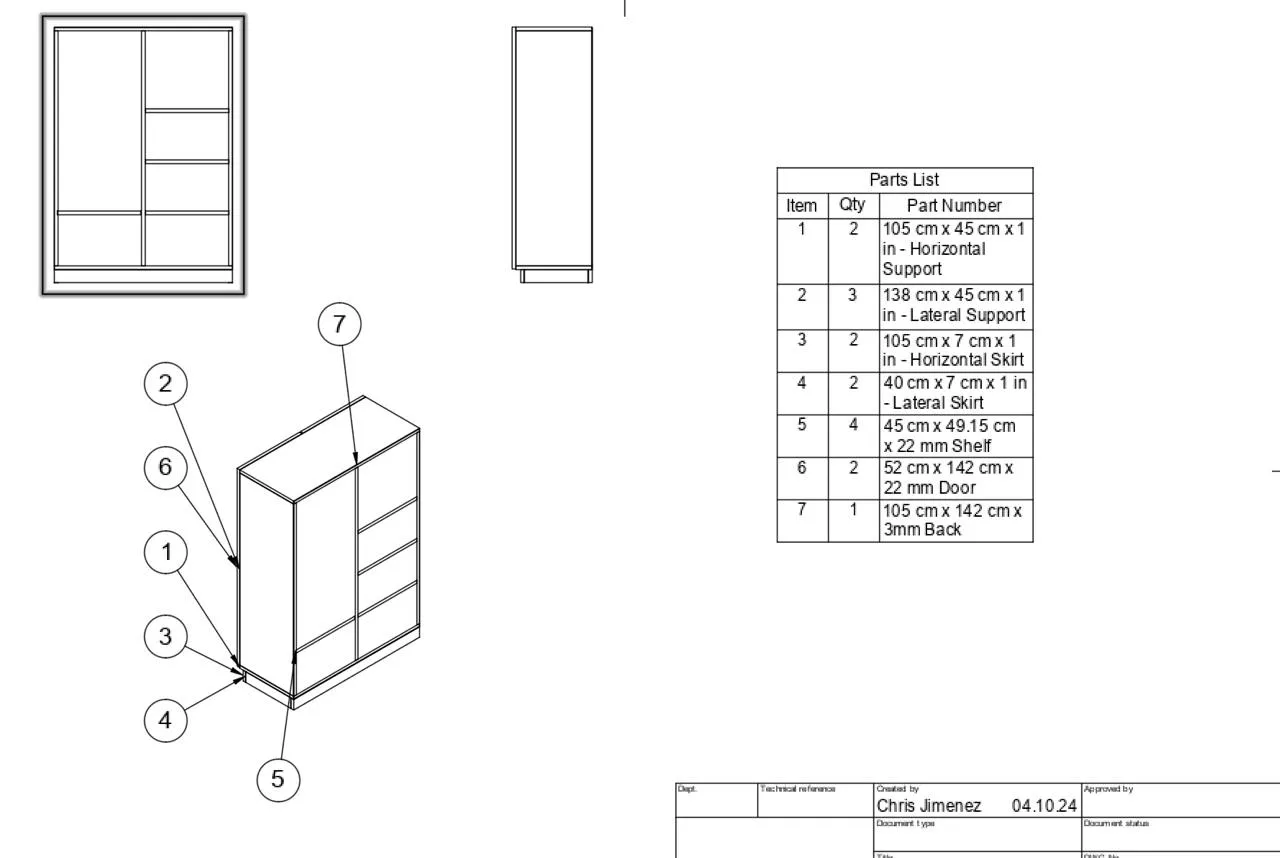

Here’s a visual walkthrough of the kitchen island construction process:


Materials Used
- Plywood for the overall structure
- Door Hardwares
- Cabinet paint and wood finish
- Cabinet handles and pulls
