Cutting Boards
-
 Chris J
 - 01 Oct, 2024
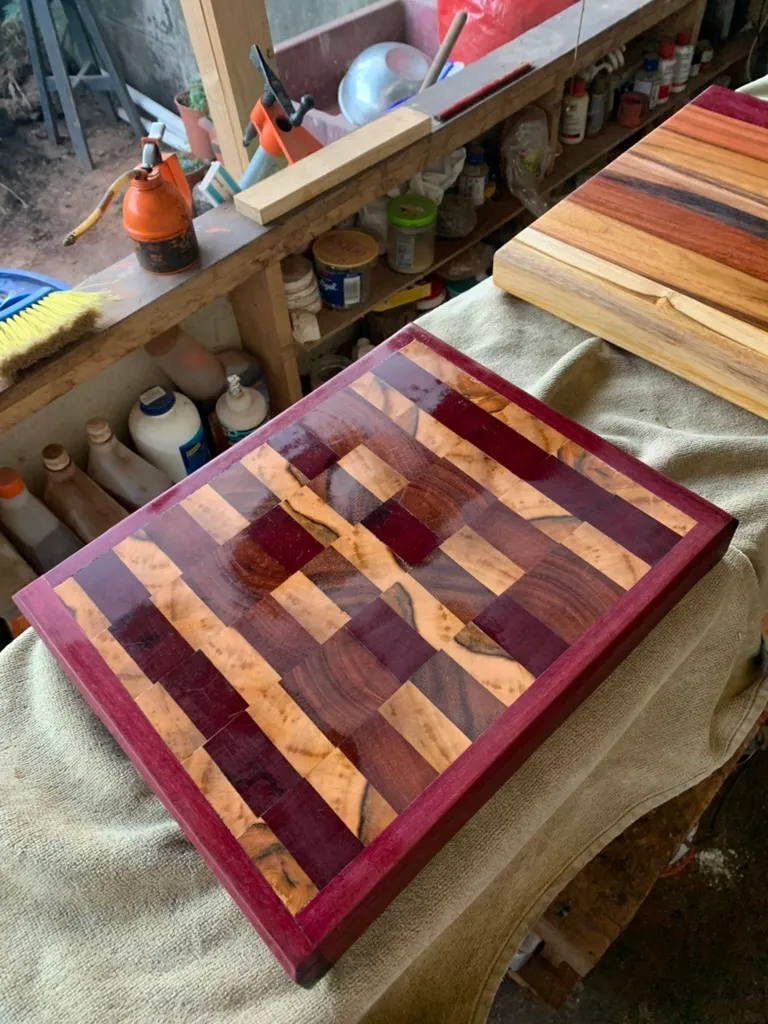
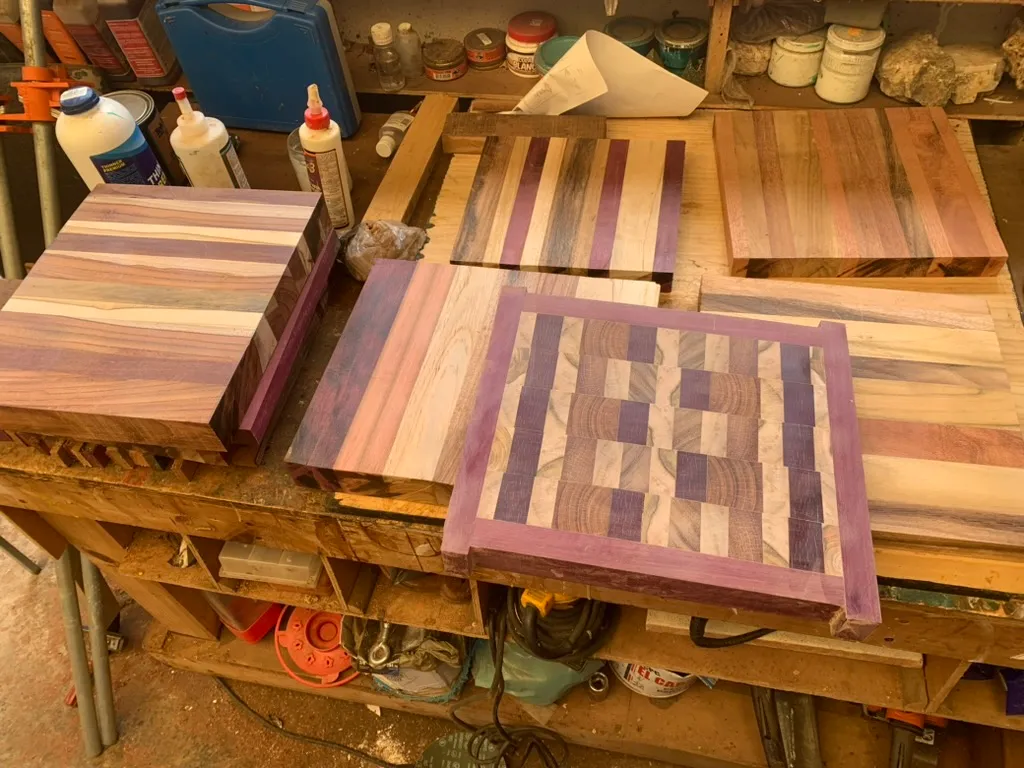
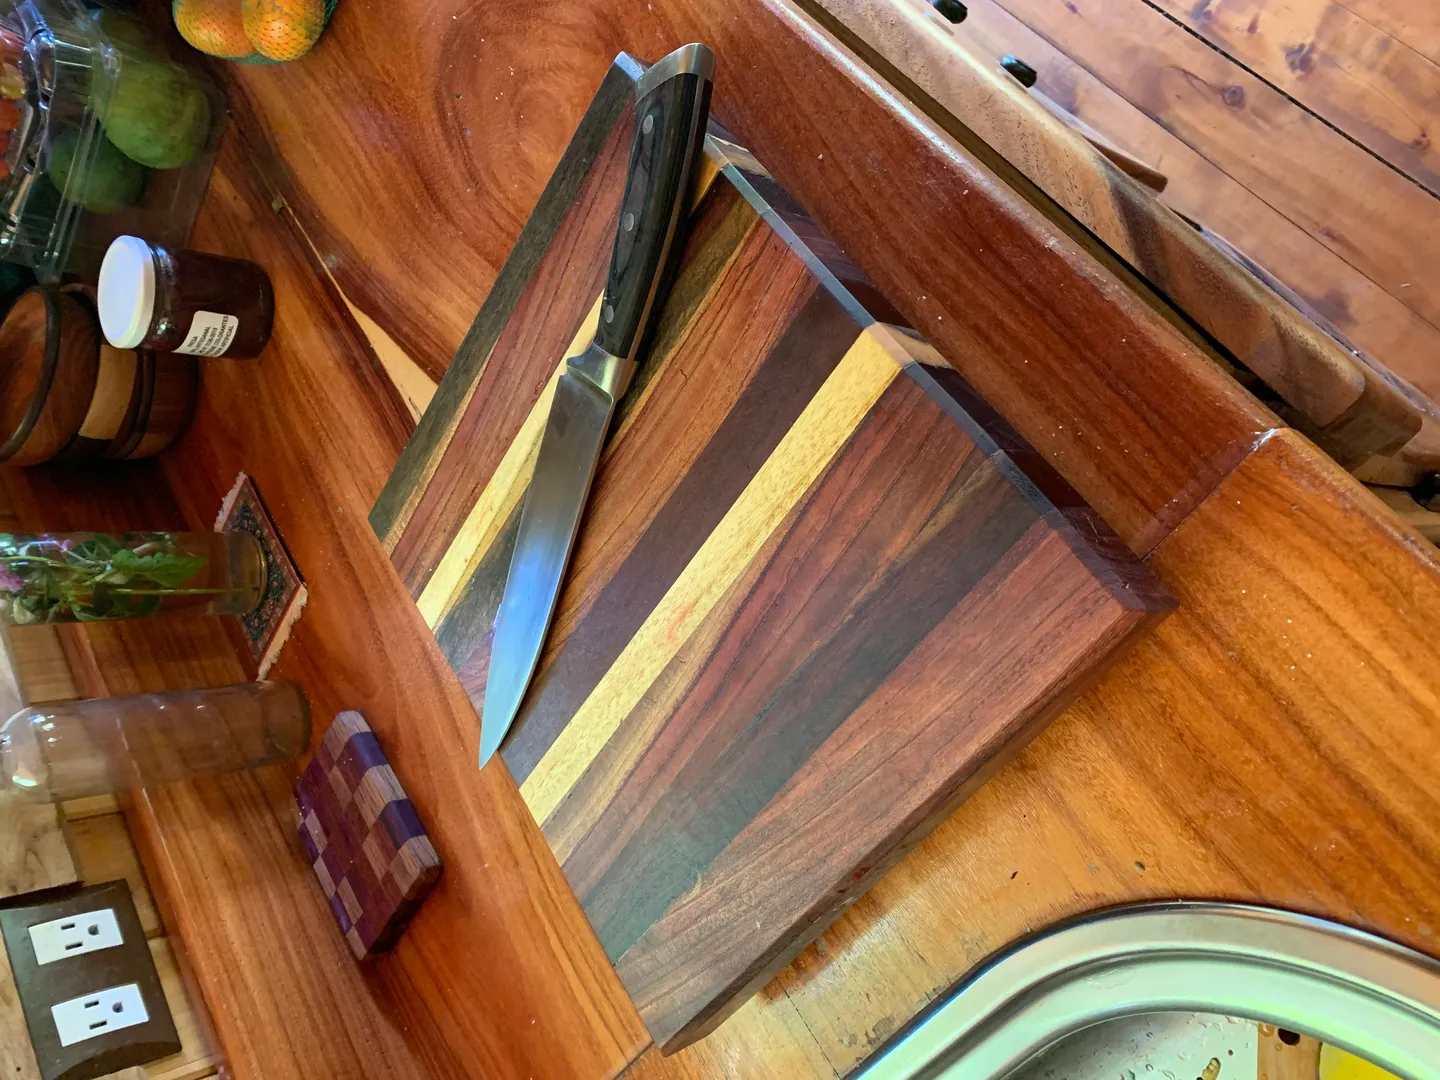
With all the leftover wood from different projects, I had accumulated a bunch of hardwood pieces that I decided to convert into cutting boards. Using beautiful wood species like Walnut, Maple, and Purple Hearth, Iron Wood, Oak, etc. I was able to create some great looking and functional cutting boards.

The Process
The process of creating these hardwood cutting boards involved several steps:
- Wood Selection: I chose a mix of hardwoods for their durability, beauty, and food-safe properties.
- Design: Each board was designed to showcase the natural beauty of the wood grain and create interesting patterns.
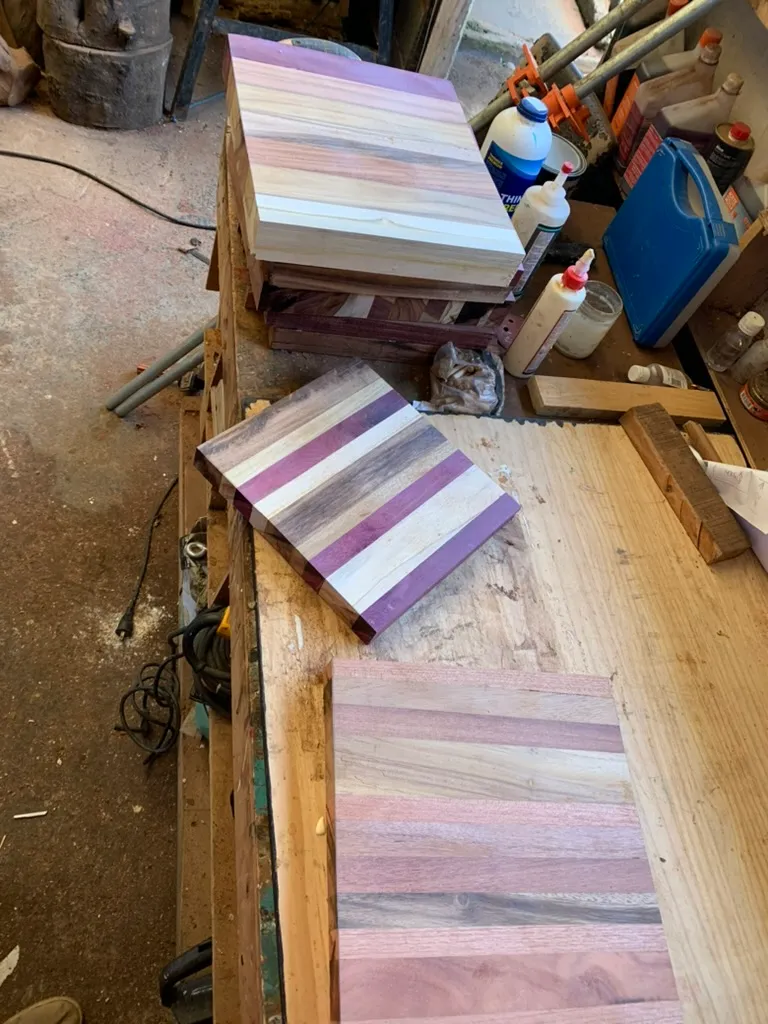
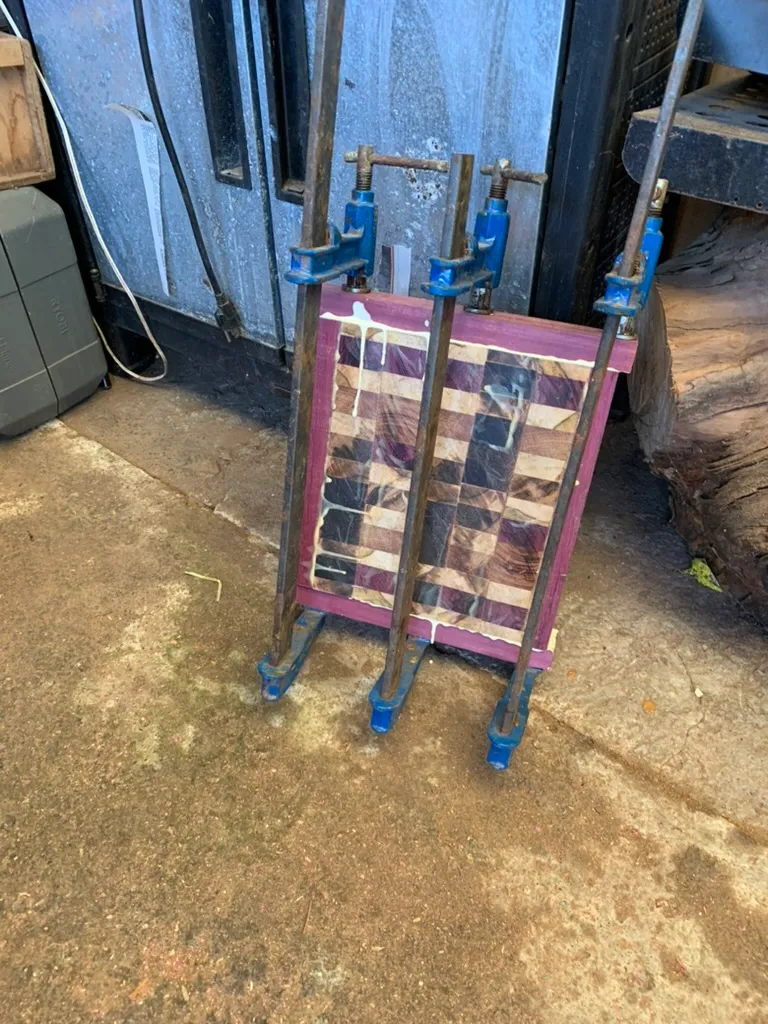
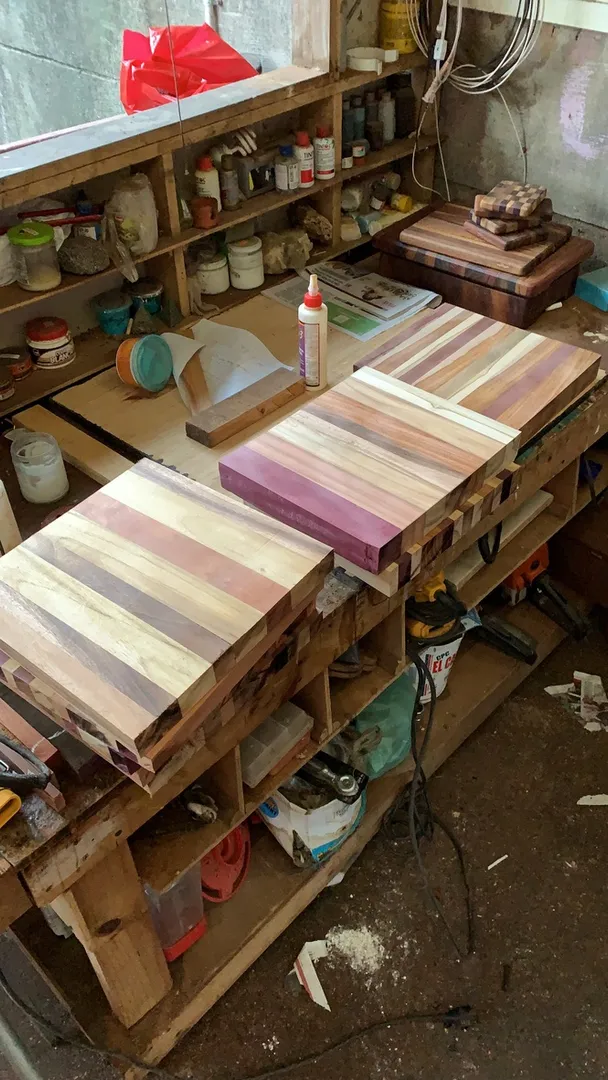
- Cutting and Gluing: The wood pieces were cut to size and carefully glued together to create the desired pattern.
- Sanding: Multiple rounds of sanding were done to achieve a smooth, splinter-free surface.
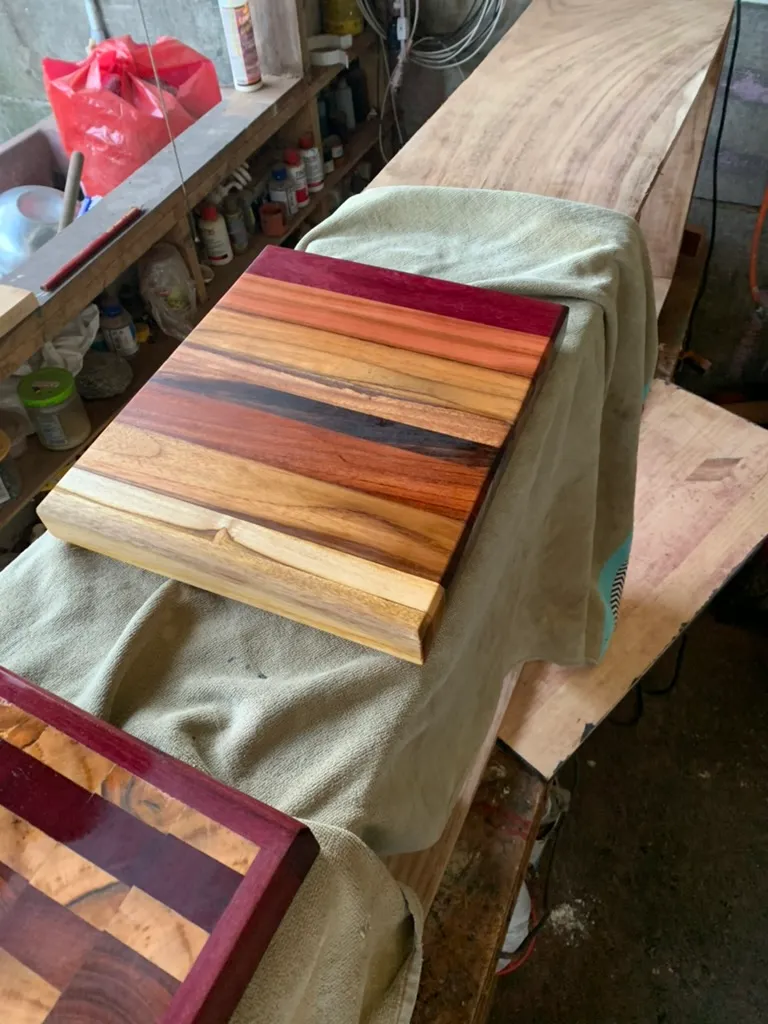
- Finishing: Food-safe oil was applied to protect the wood and enhance its natural colors.
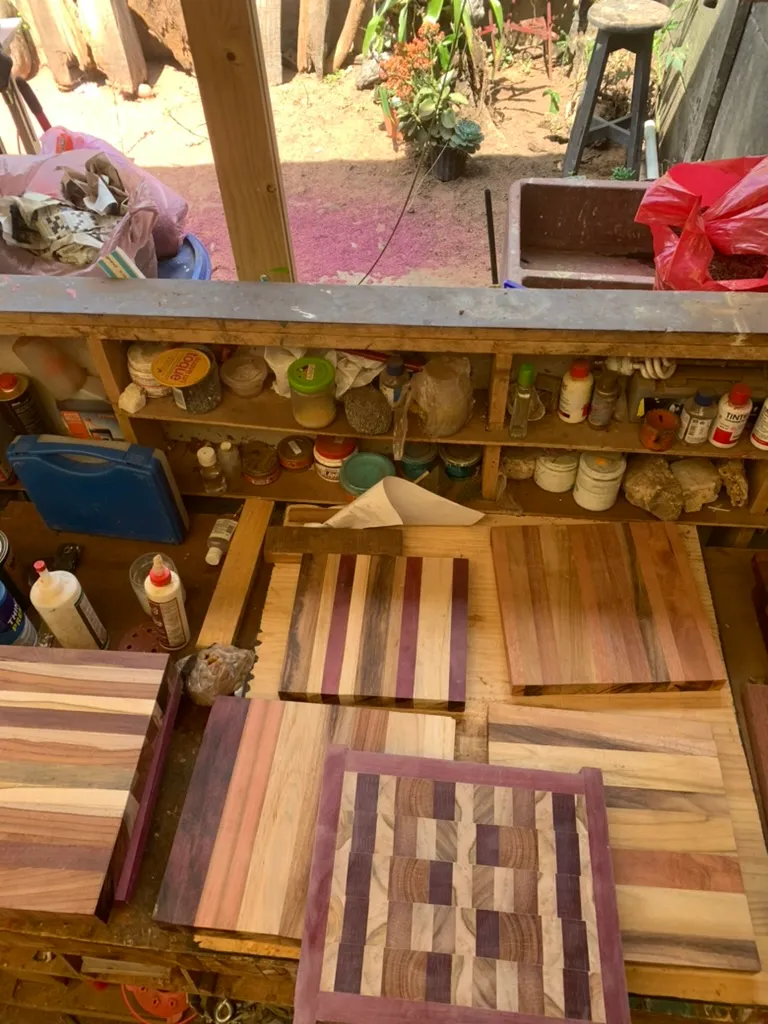
Here’s a visual walkthrough of the cutting board making process:
Materials Used
- Walnut wood
- Maple wood
- Cherry wood
- Food-safe wood glue
- Mineral oil and beeswax for finishing
